Preparing bulbs
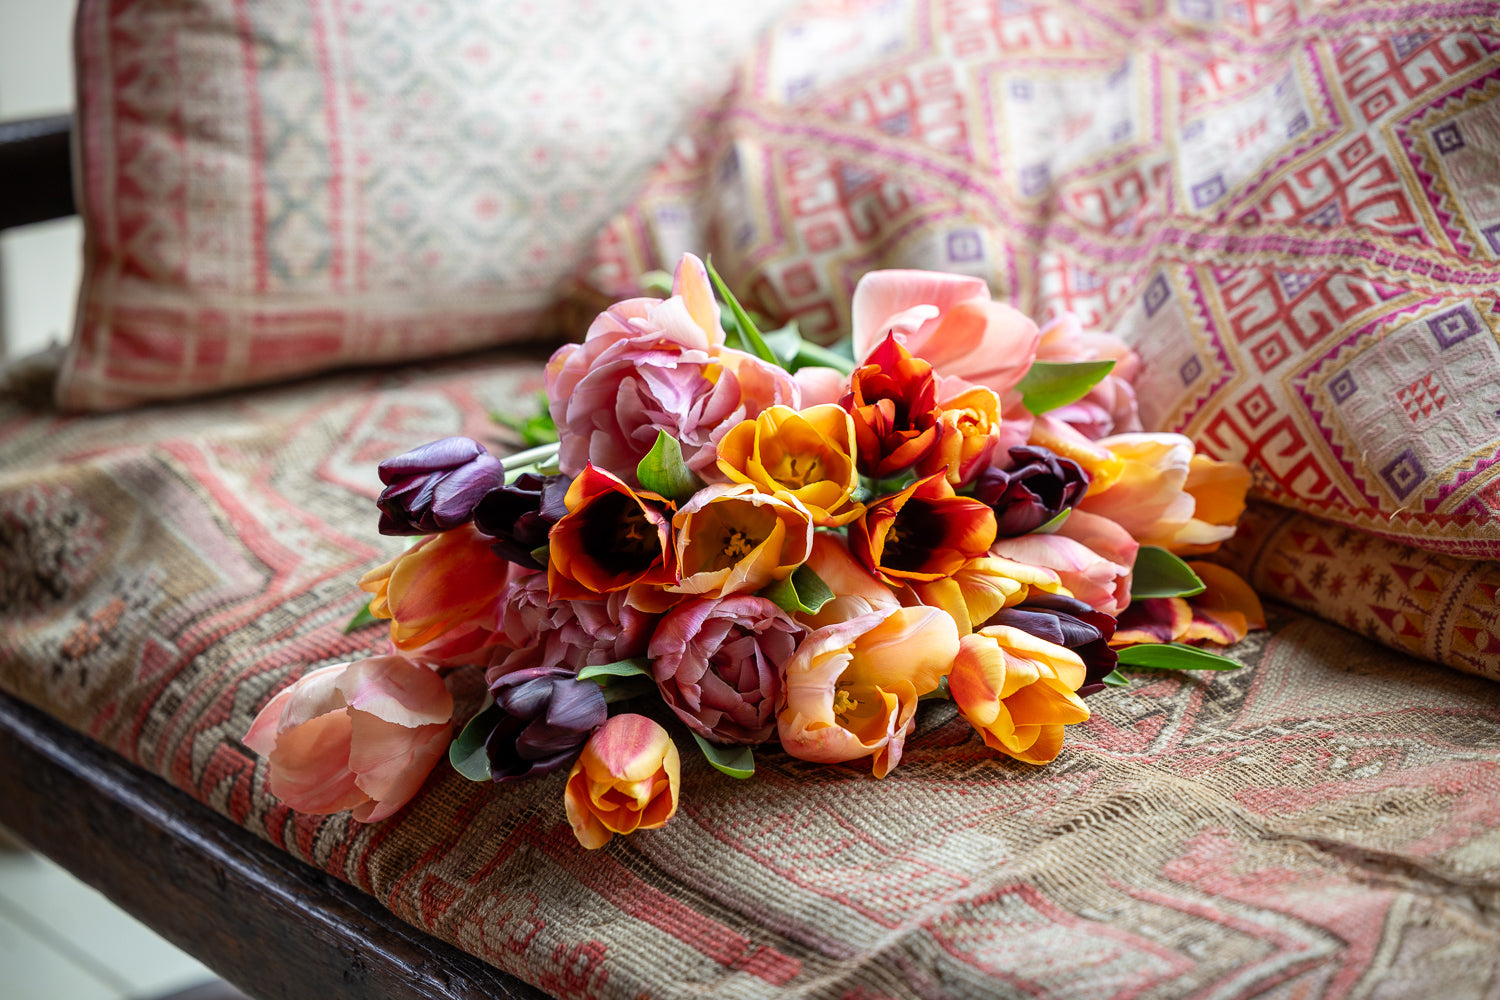
I ask myself these questions every year. This year, I've decided to abandon educated guesswork and find out for certain. With many bulbs, ordinary garden varieties are fine. All that the bulbs grown inside need is protection against the worst of the wet and cold. This is true for crocus bulbs, fritillaries, anemones, tulips, and narcissi bulbs.
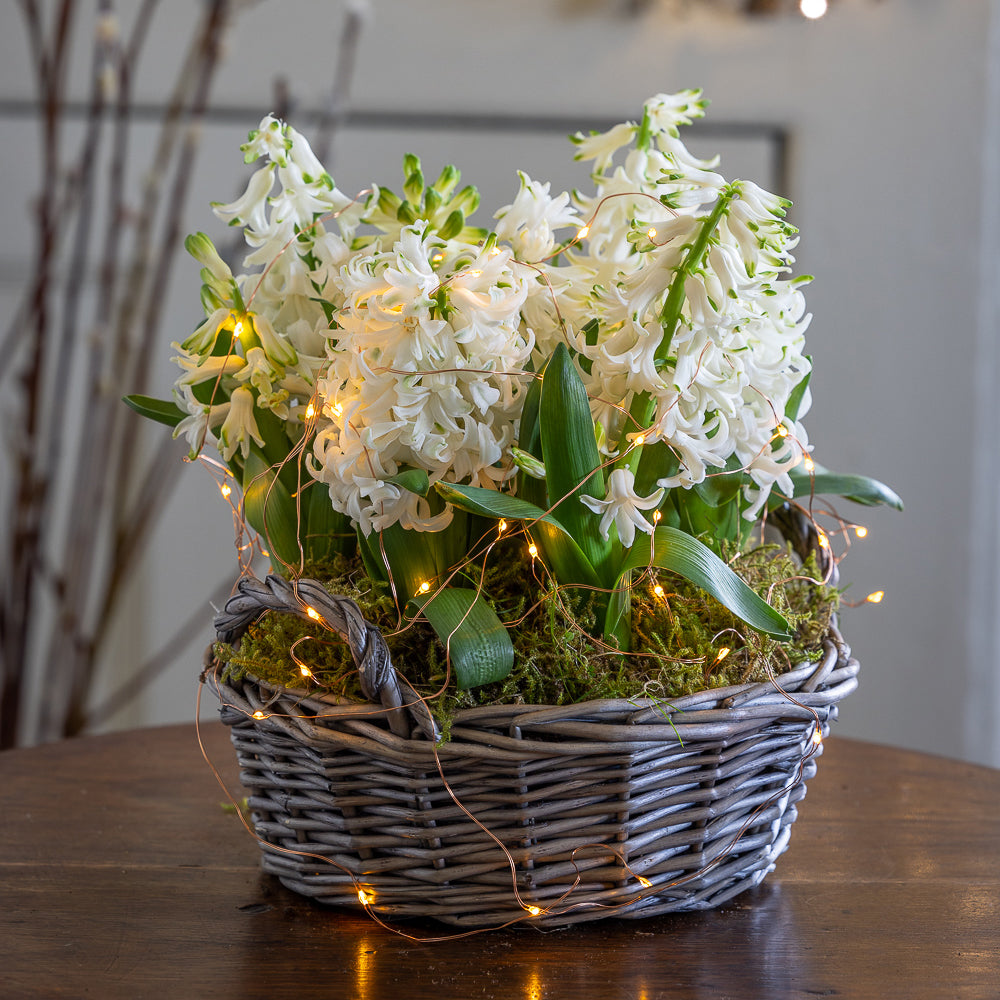
Prepared bulbs have been pre-chilled to force them to flower at Christmas or early in the New Year. This is commonly done with hyacinths. If you can get hold of ordinary garden hyacinths early enough in autumn, you can prepare them yourself. Simply, put them in a paper bag in the bottom of the fridge for four to six weeks.
Most other bulbs for forcing indoors need 10 to 15 weeks in the cold to flower well. Ideally, keep them at a temperature between 1.5C and 10C (at a pinch, 12.5C) in a cupboard, shed or garage. This cold period makes the bulb think it is winter, stimulating a biochemical response to make it start flowering. Amaryllis are the exception and do not require a cold spell.
Once they've had their cool period, you can bring them in somewhere warmer, above 15C, and they will quickly sprout, then bloom. As far as they are concerned, spring has arrived.
Most bulbs also need a period in the dark, to give the root time to develop before the light pulls the flower and leaves from the bulb. Again, amaryllis is an exception, as is freesia, narcissus papyraceus 'Ziva' and all Tazetta narcissi, but for most, the dark spell is as essential as the cold one. This is often what goes wrong with cheap indoor hyacinths: they have had a cold spell, so they begin to bloom when brought inside, but the flower is tightly enclosed in the bottom of the leaves. If you knock them out of their pot, you will see that the root has hardly developed, so it can't push out the flowers and leaves properly from the bulb.
Planting
All bulbs need to be grown in a well-drained but moist medium with a soil structure strong enough to anchor them. Again, that's often a problem with cheap bought bulbs: they are planted in peat-based compost, which becomes as light as dust when it dries and can't begin to hold the elongating stem and top-heavy flower-head of chunky bulbs such as hyacinths and amaryllis.
A loam-based soil lightened with some grit is ideal. Because it is a mineral soil, it also has a good combination of drainage and water retention.
I use the perfect, crumbly, fine soil from the molehills scattered annoyingly over the lawn. This is the only time of year that I feel triumphant when a few more emerge each morning. Most bulbs hate sitting in the wet, so for each bucket of molehill soil, I add just under half a bucket of grit. But my soil is quite heavy: use half as much grit if you have a freer-draining loam.
Lay an inch of pure grit in the bottom of each pot, then a shallow layer of the soil-and-grit mix. Place the bulb with its pointy tip just below the soil surface, and fill in around it.
If your container has no holes in the bottom, use bulb fibre. This is expensive, but contains charcoal and grit in the right proportions. The charcoal is porous and will help keep the soil damp but not too heavy, preventing rot and disease.
If you like the idea of planting bulbs in swathes in your best salad bowls, but don't want to ruin them, there's an easy solution. Find a plastic bowl or pot that just fits inside your bowl and plant bulbs in those. Don't just go for one variety of bulb, but plant as many as you can find, so you will have a succession of flowers.
It is easy to find a plastic pot to fit inside most shapes of terracotta, but it can be tricky to get one to go in a large, round bowl. I've just bought some cheap, flimsy colanders. The holes aren't a problem: they save you having to pierce the bottom of a solid container with a hammer and nail. I've lined them with newspaper, which will let the water through but keep the soil in place. I cut off the bases of the colanders, and the match of sizes isn't exact, but I can fill the gap with a bit of moss or cover the whole surface with turf.
I cut turf from an area of rough grass and clip them with scissors to fit. I did this last year and the bulbs looked great
Anemones
Anemone corms look like crinkly lumps of dried soil. When my first lot arrived in the post, I thought the supplier had sent a pile of earth and forgotten the anemones.
Varieties
Anemone coronaria are the best anemones to force. Plant them inside now and they should be flowering by March. If you plant them in September, you can force flowers by mid-February. Single flowers of a single colour are the loveliest: Anemone coronaria 'Mr Fokker' (deep purple-blue), Anemone coronaria 'Cristina' (purple-crimson), Anemone coronaria 'Sylphide' (deep pink) and Anemone coronaria 'The Bride' (pure white). Mixed-colour bulb bags often include muddy, greyish tones, without the clarity and velvety texture of these named forms.
Buying
The corms should feel hard, almost like a stone.
Preparation for planting
To get them off to a fast start, soak them in water for a couple of hours before planting. Leave them in just long enough so that you can make a dent in the skin of the bulb with your fingernail.
Planting medium
A loam-based soil lightened with some grit is ideal.
How deep to plant
About 2.5cm (1in) deep, leaving the tips just exposed.
Temperature and light/dark
They don't need pre-chilling to flower, but many people think they grow more vigorously if you cover them after planting and chill them for six weeks, at about 5C. They will flower best with bright light, a cool location, and consistently moist (not wet) soil.
Watering
Regular watering is crucial. Don't let the compost dry out.
Planting to flowering
10-12 weeks Keep or plant out? Leave them where they are to flower next year, or dry them off for re-planting in the autumn